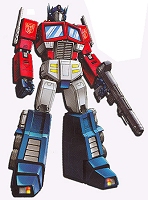
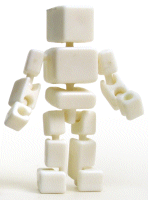
After creating the Powermaster Optimus Prime
figure I didn't want to make another Optimus Prime right away. However, in
trying to keep the factions balanced I realized that I needed a second Prime
to offset the two Megatrons I had on the Decepticon side. So, I sketched out
a G1 design for a Cuboyd and set the paper aside for the last four months.
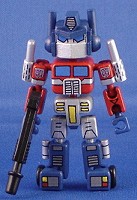
The sculpting process was pretty easy for most of Prime. The chest just
needed a rectangle of styrene added to the front and a block of extra sprue
added to the back before paint was applied. The lower legs and upper arms
both have bits of rounded plastic (from the Monk staff) added to create the
smokestacks and fuel tanks. The most work was done on the head, as tends to
be the case with most of these figures. I added the faceplate, "brow ridge"
and top crest in epoxy putty. Once that dried and was shaped I added some
thick pieces of styrene to the sides of the head, then glued on two rounded
"ear" pieces and finally cut and glued yet more rounded plastic pieces to
make the antenna on each side. So, about five steps needed just to get the
basic shape I was after.
The next to last part of the process was painting. The red went on with
just two coats for most of the parts, so I didn't have to worry about
visible brush strokes for most of it. The blue was an easy color to add
since it covers just about any other shade under it. The silver was added in
two stages, as with all the silver sections on my Cuboyd customs. First a
layer of base grey was applied, and a second layer of "glimmer" silver paint
was added over that.
The very last step was the detailing, which I added with a black pigment
pen. There wasn't a great deal that needed detailing, but most of the
line-work was just to help outline borders between different colors. A clear
coating later and my G1 Optimus Prime was completed!


